
Demister pads are essential tools used in many industries. They help remove tiny liquid droplets from gas or vapor streams. This process is called gas-liquid separation. It’s used in industries like chemical processing, oil and gas, and pharmaceuticals. Properly installing a demister pad ensures it works well and lasts long. This guide will walk you through the steps to install demister pads correctly and quickly. We’ll keep it simple and clear so anyone can follow along.
What Are Demister Pads?
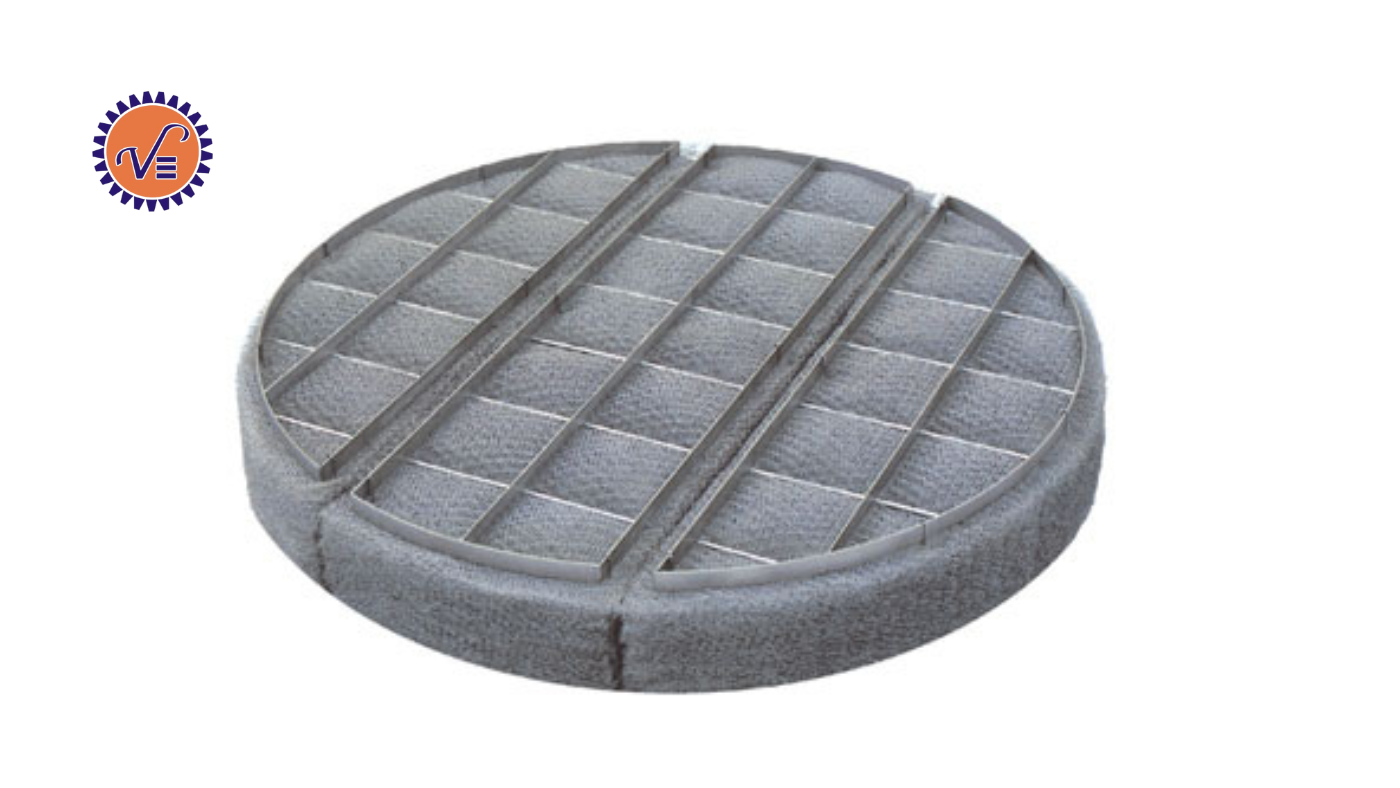
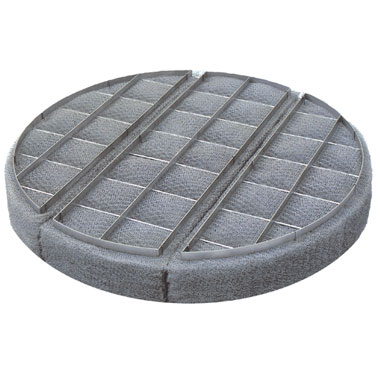
Demister pads, also called mist eliminators, are made of woven wire mesh. They look like a thick, cushion-like structure. The demister pad design uses tightly woven wires to capture small liquid droplets as gas passes through. These droplets stick to the wires, grow bigger, and then fall due to gravity. This keeps the gas clean and prevents liquid from damaging equipment or escaping into the environment.
Mist eliminators, including demister pads, are used in processes like distillation, gas compression, and desalination. They help improve efficiency, reduce corrosion, and protect the environment. A good demister pad design ensures high performance, but proper installation is key to getting the best results.
Why Is Proper Installation Important?
A demister pad must fit tightly in its vessel. If there are gaps, gas can leak through, reducing the efficiency of the mist eliminator. A poorly installed pad may also sag or get damaged, which can lead to costly repairs. Correct installation of the demister pad design ensures it captures droplets effectively while maintaining a low pressure drop.
Before we start, let’s gather the tools and materials you’ll need. This will make the process smooth and safe.
Tools and Materials Needed
To install a demister pad, you’ll need:
- The demister pad itself (check it matches your vessel’s size and type).
- A measuring tape for checking dimensions.
- Support rings or beams (these hold the pad in place).
- Tie-downs, wires, or clamps to secure the pad.
- Sheet metal or cardboard (to help with installation).
- Gloves and safety gear to protect yourself.
- Cleaning supplies to prepare the vessel.
- A flashlight or good lighting to see inside the vessel.
- A marker to label sections or support rings.
Make sure all tools and materials are clean and free of dirt. Dirty tools can damage the pad or vessel.
Step-by-Step Installation Guide
Here’s how to install a demister pad properly. Follow these steps carefully for the best results.
Prepare the Work Area
Before you begin, make sure the work area is safe and clean. Turn off any equipment connected to the vessel. This prevents accidents. Check the vessel for dirt, rust, or debris. Clean it thoroughly to ensure a good fit for the mist eliminator.
Lay out all the demister pad sections near the vessel. If the pad comes in multiple pieces, arrange them in the order you’ll install them. Check the flow direction marked on the pad. Some demister pad designs have a specific “up” or “down” side. Installing them the wrong way can reduce performance.
Check the Vessel and Pad
Measure the vessel’s internal diameter. Compare it to the demister pad’s size. Demister pads are often made slightly larger than the vessel to ensure a tight fit. This prevents gas from leaking around the edges. If the pad is too small, it won’t work well. If it’s too big, it may be hard to install.
Inspect the pad for damage. Look for bent wires, holes, or corrosion. A damaged mist eliminator won’t work properly and may need replacing. If everything looks good, you’re ready to move on.
Mark the Support Structure
Most demister pads sit on a support ring or beams inside the vessel. These hold the pad in place. Use a marker to label where each section of the pad will go. This is especially important for multi-section demister pad designs. Marking helps you align the sections correctly.
If the vessel has dual support rings, note which sections are removable. These make it easier to install the final piece of the pad. For horizontal vessels, mark both the support ring and beams to guide your placement.
Start with the Outer Sections
Begin installing from the outside of the vessel and work toward the center. Place the first section of the demister pad on the support ring. Make sure it’s aligned with your marks. Press it down gently to compress it to the right size. The mist eliminator should fit snugly against the vessel wall.
Keep opposing sections parallel to each other. This ensures even compression across the pad. Uneven sections can create gaps, letting gas leak through. Use tie-downs or clamps to secure each section after placing it. Check that it’s firm but not overly tight, as this can damage the demister pad design.
Work Toward the Center
Continue adding sections, moving inward. Each section should sit flat on the support ring or beams. Use your marks to guide placement. If the pad has multiple layers or density types, make sure they’re in the correct order. For example, dual-density demister pad designs have a looser mesh on the bottom to prevent flooding and a tighter mesh on top for better separation.
As you add sections, check for gaps between them. Gaps reduce the mist eliminator’s efficiency. Press each section gently to ensure a tight fit. If you’re working in a horizontal vessel, align each section carefully with the beams.
Install the Final Section
The last section is often the trickiest to install. If you’re working from below the pad (download type), lift the final section through the space between the other sections. Position it carefully, then pull it down into place. If you’re working from above (upload type), push the section into place after aligning it.
To make this easier, use a smooth, strong material like sheet metal or cardboard. Place it on both sides of the final section to reduce friction. You may need to push firmly, as the demister pad design is meant to compress slightly. Once it’s in place, secure it with tie-downs or clamps.
Secure Dual Support Rings (If Applicable)
If your vessel has dual support rings, the final section may need extra steps. Some dual rings have removable sections near the manway (access point). After placing the last pad section, screw or bolt these ring sections back into place. Dual rings help prevent gas from bypassing the mist eliminator and add extra support.
Check that all parts of the ring are secure. Loose rings can cause the pad to sag or shift during operation.
Check for Gaps and Alignment
Once all sections are in place, inspect the entire pad. Look for gaps between sections or between the pad and the vessel wall. Even small gaps can reduce the efficiency of the mist eliminator. Gently press the pad to ensure uniform compression. The pad should feel firm and even across its surface.
If the pad has a dual-density demister pad design, double-check the flow direction. The looser mesh should face the incoming gas, and the tighter mesh should face the outlet. Incorrect orientation can cause flooding or poor separation.
Secure the Pad
Use tie-downs, wires, or clamps to hold the pad in place. Make sure they’re evenly spaced and not too tight. Over-tightening can damage the mesh or distort the demister pad design. For offset rings (rings held away from the vessel wall), use tie wires or J-bolts with clamps to secure the pad.
Check that the support rings and beams are strong enough to hold the pad. A weak support structure can cause the mist eliminator to sag or fail.
Final Inspection
Before starting the equipment, do a final check. Make sure all sections are secure and properly aligned. Confirm there are no tools or materials left inside the vessel. These can damage the pad or equipment during operation.
If the vessel has a manway, use a flashlight to inspect hard-to-see areas. Ensure the mist eliminator is evenly compressed and fits tightly against the vessel wall. For dual-density demister pad designs, verify the correct flow direction again.
Clean Up and Start Up
Remove any installation aids, like sheet metal or cardboard. Clean the area around the vessel to ensure no debris enters during operation. Store any unused demister pad sections in a dry, clean place to prevent contamination.
Once everything is in place, you’re ready to start the equipment. Monitor the system during the first few hours of operation. Check for signs of gas leakage or pressure drop. A sudden increase in pressure drop may mean the mist eliminator is clogged. A decrease could indicate a gap or a loose section.
Comparing Demister Pads and Vane Pack Chevron Mist Eliminators
While demister pads are a popular type of mist eliminator, another option is the vane pack chevron mist eliminator. This design uses angled plates or vanes to separate liquid droplets from gas streams. Unlike the woven mesh of demister pad designs, vane pack chevron mist eliminators are better suited for high gas velocities or larger droplet sizes. They are often used in applications like scrubbers or cooling towers.
However, demister pads remain a top choice due to their versatile design and ability to handle a wide range of conditions. Both types of mist eliminators require careful installation to ensure no gas bypasses the system. Understanding the differences between demister pad designs and vane pack chevron mist eliminators helps you choose the right one for your process.
Tips for Specific Installations
Horizontal Vessels
In horizontal vessels, demister pads are often larger and harder to install. Use extra care when aligning sections with support beams. Mark the beams clearly to guide placement. Work slowly to avoid damaging the demister pad design. If the pad is large, consider having two people for the job.
Dual-Density Pads
Dual-density mist eliminators have two layers: a looser mesh for drainage and a tighter mesh for separation. Always check the flow direction before installing. The looser mesh should face the incoming gas. Installing it backwards reduces efficiency and can cause flooding.
Upload vs. Download Types
Demister pads are installed in two main ways: upload (from above) or download (from below). Upload installations are easier because gravity helps you push the mist eliminator into place. Download installations require lifting the pad through a manway, which can be tricky. Use installation aids like sheet metal to reduce friction in download setups.
Existing Vessels Without Supports
If your vessel doesn’t have built-in supports, you may need to add them. Some suppliers offer clamp-on support systems that don’t require welding. These use springs or jack screws to hold the mist eliminator against the vessel wall. Check with your supplier for options that avoid costly vessel modifications.
Maintenance Tips
Proper maintenance keeps your demister pad working well. Here are some tips:
- Inspect the mist eliminator regularly for corrosion or clogging.
- Clean it with non-corrosive detergents or water. Avoid harsh acids, as they can damage the demister pad design.
- Check tie-downs and supports for looseness.
- If the pad is damaged, replace it promptly to avoid efficiency loss.
- Store spare pads in a dry, clean place to prevent contamination.
Regular maintenance extends the mist eliminator’s life and ensures consistent performance.
Common Mistakes to Avoid
Here are some mistakes to watch out for:
- Installing the pad upside down, especially dual-density demister pad designs.
- Leaving gaps between sections or the vessel wall.
- Over-tightening tie-downs, can damage the mist eliminator.
- Using damaged or dirty pads, reduces efficiency.
- Forgetting to remove tools or installation aids before starting the equipment.
Avoid these errors to ensure a smooth installation and optimal performance.
Benefits of Proper Installation
A well-installed demister pad offers many benefits:
- High separation efficiency, capturing nearly all liquid droplets.
- Low pressure drop, saving energy and reducing wear on equipment.
- Longer equipment life by preventing corrosion.
- Reduced product loss and environmental impact.
- Improved process efficiency in industries like chemical processing and oil refining.
Troubleshooting Common Issues
If the mist eliminator isn’t working as expected, check for:
- Gaps between sections or the vessel wall cause gas leakage.
- Incorrect flow direction, especially for dual-density demister pad designs.
- Clogged mesh, increasing pressure drop.
- Loose tie-downs or supports, causing the mist eliminator to shift.
- Damaged mesh, reducing separation efficiency.
Address these issues quickly to restore performance.
Conclusion
Installing a demister pad may seem complex, but with careful planning, it’s straightforward. Follow these steps to ensure a tight fit and maximum efficiency. A properly installed pad improves your system’s performance, protects equipment, and reduces costs. For high-quality demister pads and expert guidance, trust Varun Engineering. Their experience ensures you get the best solutions for your needs. Start your installation today and see the difference a well-installed demister pad can make.